2. Use of the Application Submission Portal 3
2.2. Creating the user account – individual / private person 4
2.3. Creating the account of legal person / legal representative 10
2.4. Connecting to the application with an existing account 16
2.6. Viewing and editing profiles 25
2.7. Registration of a request related to a profile 29
2.8. Logging a profile notification 35
2.9. View the list of requests 38
2.10. Viewing the notification list 41
2.13. Disconnecting (log-off) 50
This document is addressed to foreigners who wish to submit applications online or to notify IGI regarding certain changes that have occurred in their status, during their legal stay in Romania. The document describes how external users interact with the Portal.
The Beneficiary will be able to use this document to understand how the Portal interacts.
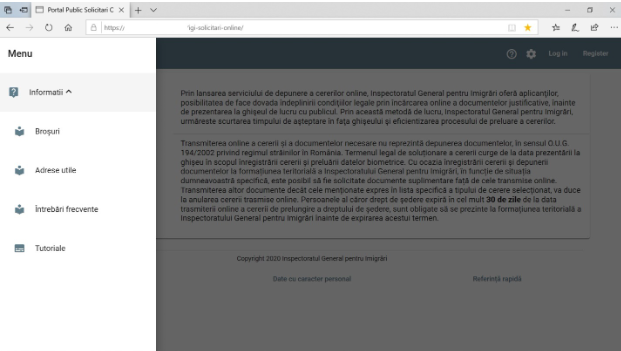
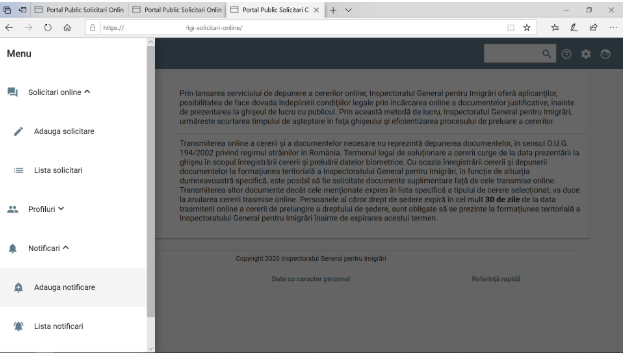
The portal interface has the following functionalities:
- Create account (Register). The accounts are of two types: individual / private person account, which allows the addition of online requests and notifications in their own name and / or for family members of the account holder, and legal entity / legal representative account that allows the addition of requests and notifications for persons with whom the account holder of the account has a legal relationship of representation.
- Login
useful information (brochures, tutorials),
useful addresses / links
frequently asked questions (FAQ)
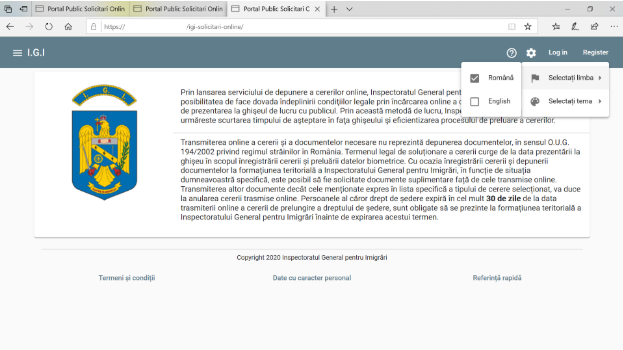
selecting the language in which the information is displayed
changing the display theme in the portal
To create an account, it is necessary to have a valid email address.
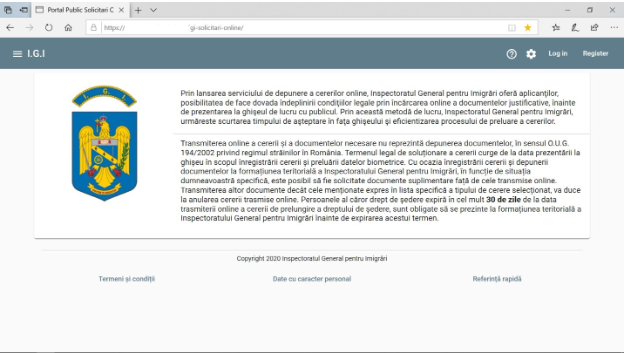
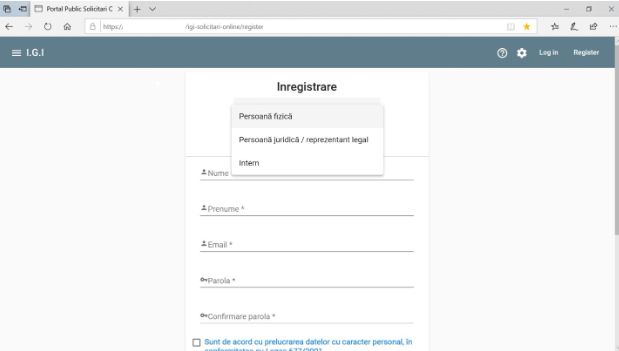
From the Home screen of the portal, access the Registration option and the portal will display the page with the necessary information:
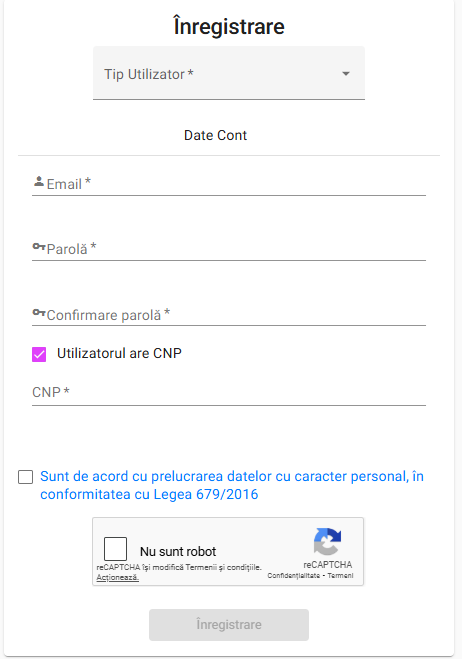
In the User type field, select the Private Person and fill in the rest of the requested information.
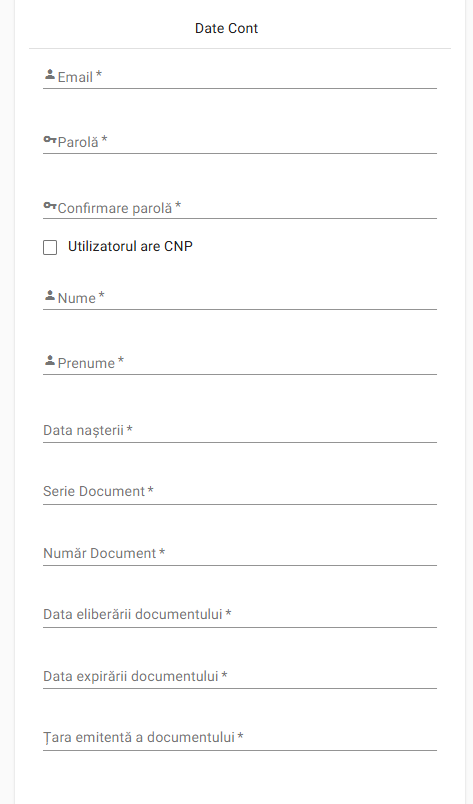
Attention: the account password must have at least 8 characters and contain at least one lowercase letter, one uppercase letter, one digit and one special character.
If the user is a CNP holder, the CNP will be filled in the dedicated field. Attention: the CNP will be queried at DEPABD/in the GII systems and the provided information will have to be validated by the user.
If the user is not a CNP holder, he will need to fill all the information referring to his identification document (passport, etc).
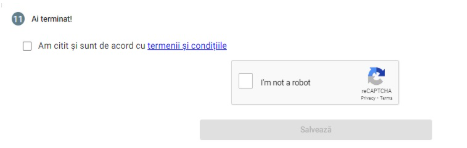
Check the box "I agree with the processing of personal data" "
Check the "I'm not a robot" option
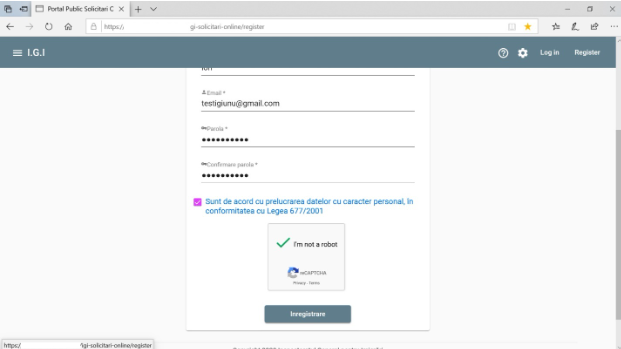
Press the Register button
An account activation email is automatically sent to the email
address filled in to create the account. 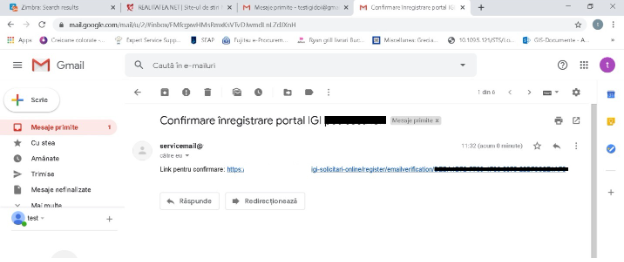
Click on the confirmation link.
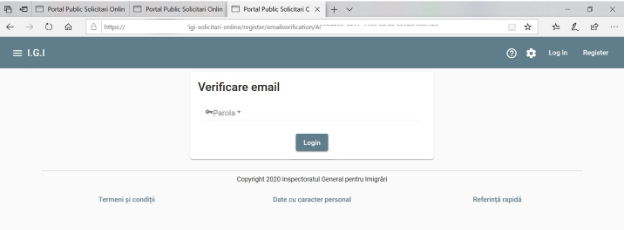
The application will redirect you to the account and password
verification screen 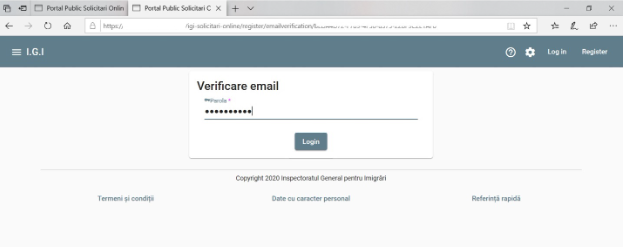
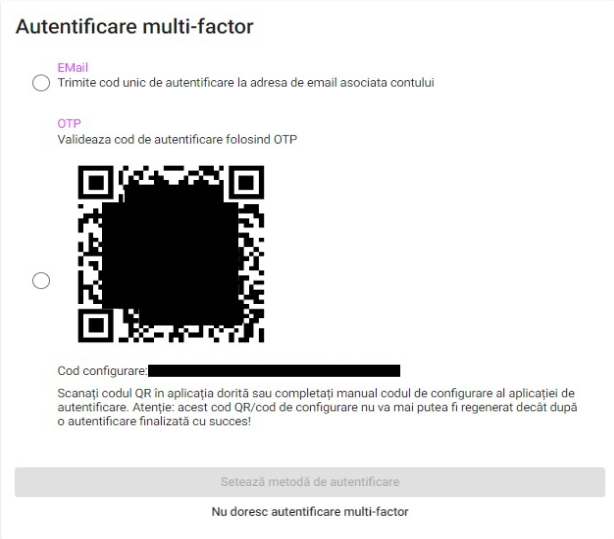
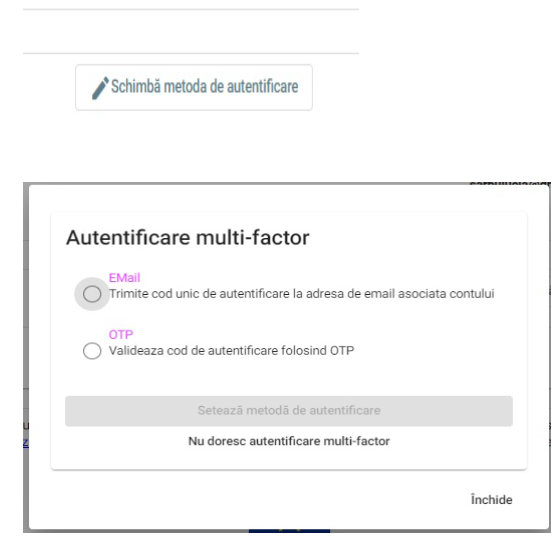
Confirm the account password and press the Login button. At this point the user has to choose a multi-factor authentication type. Thus, he has the following options:
1. Authenticate with a unique code received on the email address associated with the account
2. Authenticate with a unique OTP code generated by a third-party application (Google Authenticator, Microsoft Authenticator etc).
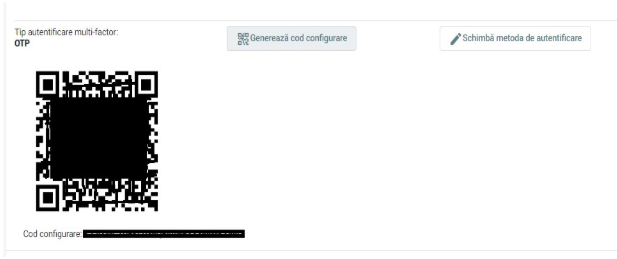
The third-party application can be configured by scanning the QR code or by completing the configuration code found on the screen
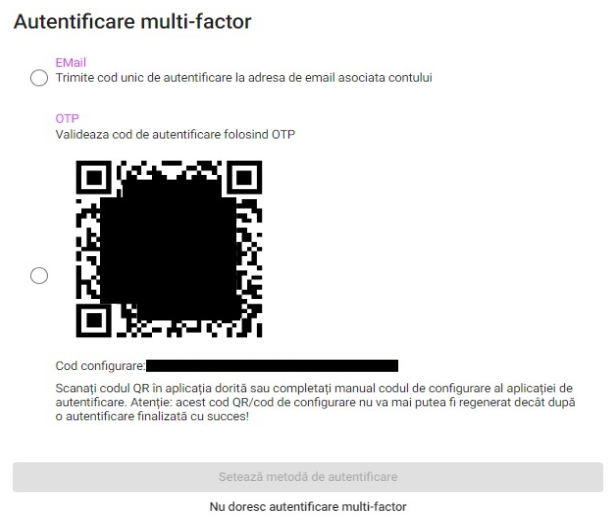
The user also has the possibility to bypass multifactor authentication.
Attention: this option will automatically be disabled after 6 months since the first configuration of the multi-factor authentication
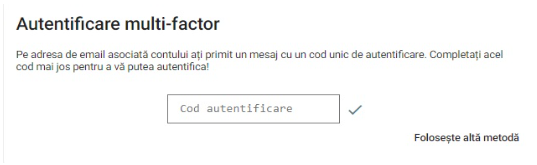
After choosing an authentication type, the user has to enter the unique code received on his email address/generated by the third-party application.
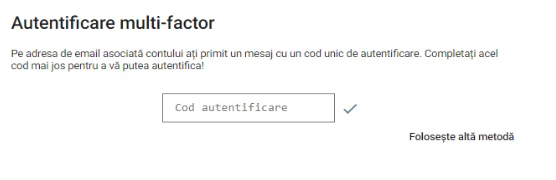
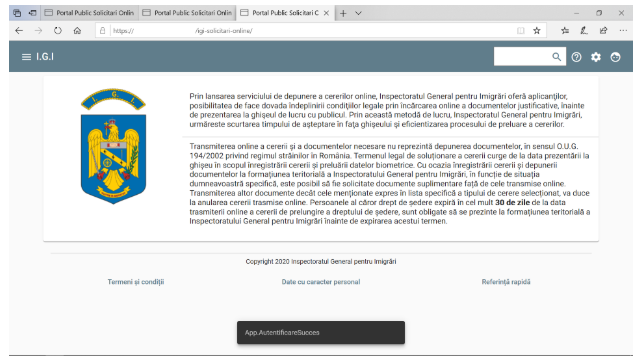
If the code is valid, the user is now authenticated and he can use his newly created account.
To create an account, it is necessary to have a valid email address.
From the Home screen of the portal, access the Registration option and display the page with the necessary information:
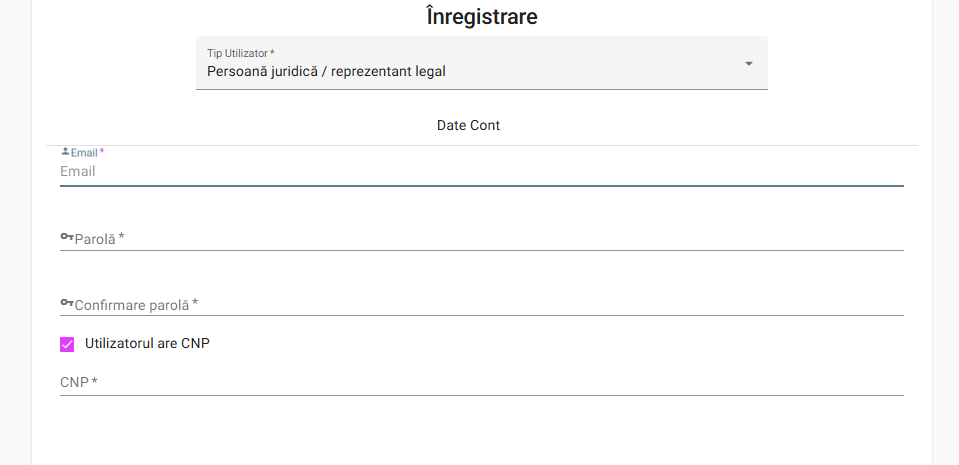
In the User type field, select the legal entity / legal representative and fill in the rest of the requested information.
If the user is a CNP holder, the CNP will be filled in the dedicated field. Attention: the CNP will be queried at DEPABD/in the GII systems and the provided information will have to be validated by the user.
If the user is not a CNP holder, he will need to fill all the information referring to his identification document (passport, etc).
Attention: the account password must have at least 8 characters and contain at least one lowercase letter, one uppercase letter, one digit and one special character.
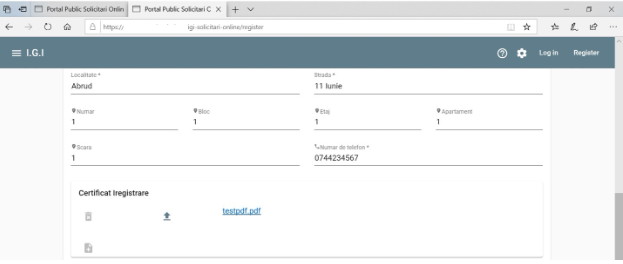
In the legal entity Data section, fill in the information regarding
the legal representative (lawyer, law office, notary public, etc.) 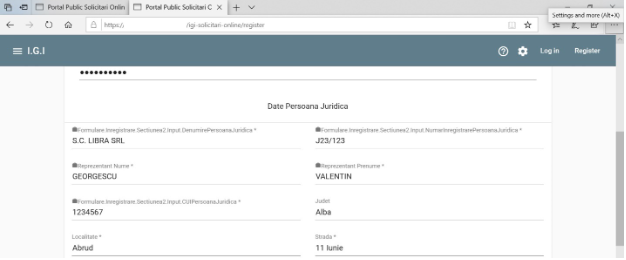
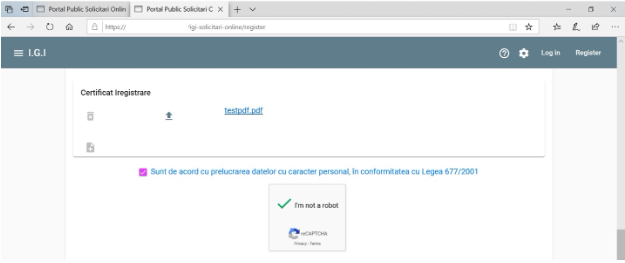
Check the box "I agree with the processing of personal data"
Check the "I'm not a robot" option and select the requested images for confirmation.
Press the Registration button
An account activation email is automatically sent to the email
address filled in to create the account. 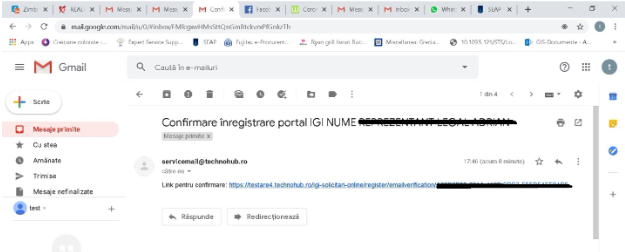
Click on the confirmation link and the user is redirected to the confirmation page of the email address and password.
Fill in the password and press the Login button. At this point the user has to choose a multi-factor authentication type. Thus, he has the following options:
1. Authenticate with a unique code received on the email address associated with the account
2. Authenticate with a unique OTP code generated by a third-party application (Google Authenticator, Microsoft Authenticator etc).
The third-party application can be configured by scanning the QR code or by completing the configuration code found on the screen
The user also has the possibility to bypass multifactor authentication.
Attention: this option will automatically be disabled after 6 months since the first configuration of the multi-factor authentication
After choosing an authentication type, the user has to enter the unique code received on his email address/generated by the third-party application.
If the code is valid, the user is now authenticated and he can use his newly created account.
Select the Login option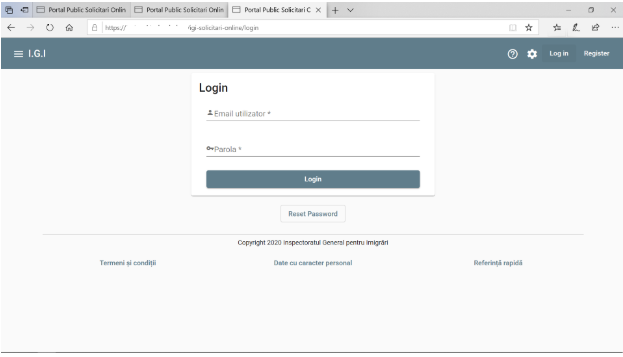
Fill in the email address and password of the account
Press the Login button
Enter the unique code generated through your chosen multi-factor authentication type.
Profiles can be created for each account type. While requests for several different people can be submitted from one account, a profile is attached to a single person.
The user logs in to the application with a valid account (see chap. 2.2 or 2.3, as appropriate).
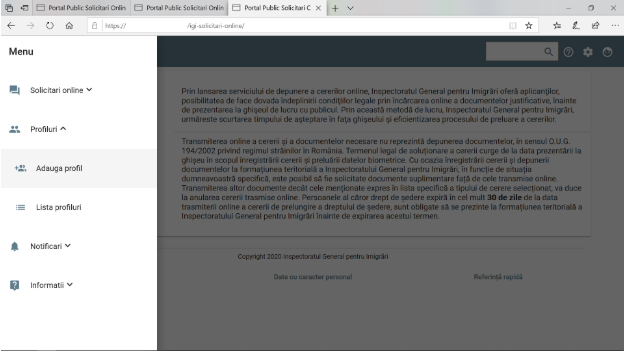
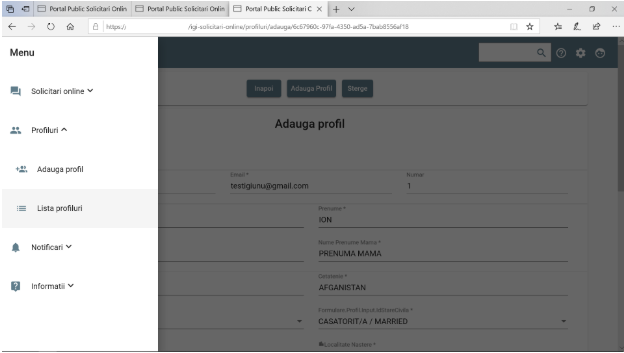
From the left menu choose the Profiles option 🡪 Add Profile
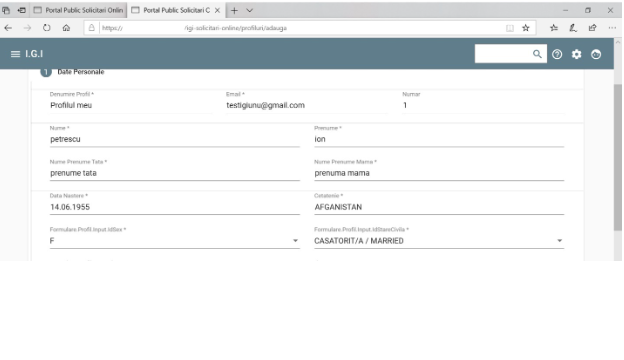
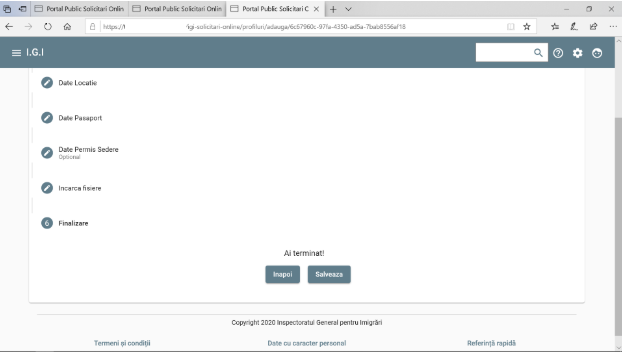
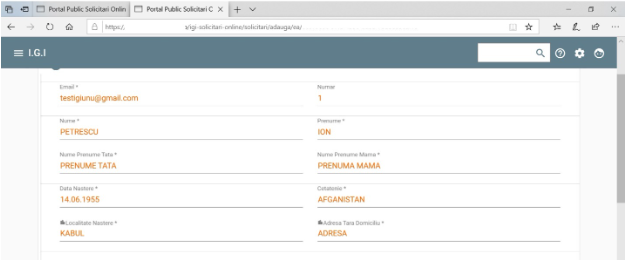
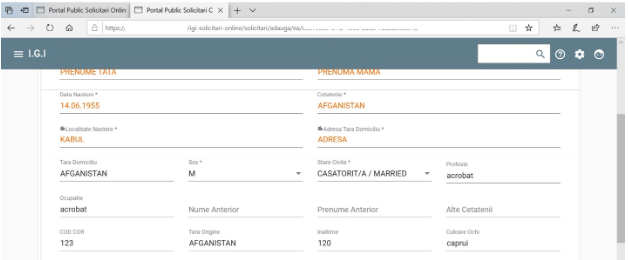
The information from the following sections is filled in one by one:
Personal data
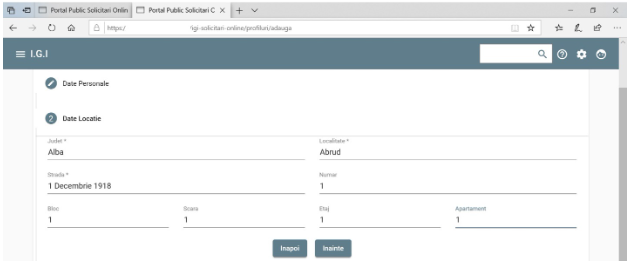
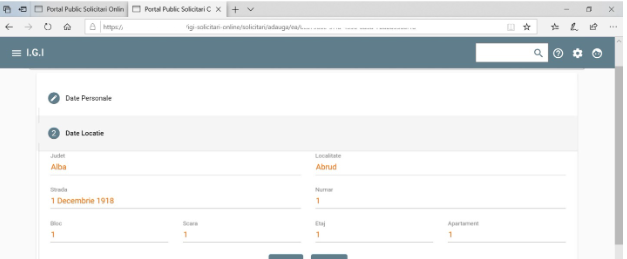
Location data (address from Romania)
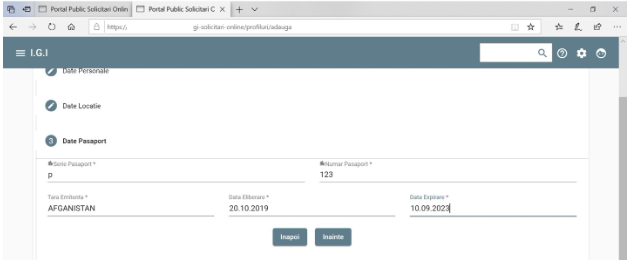
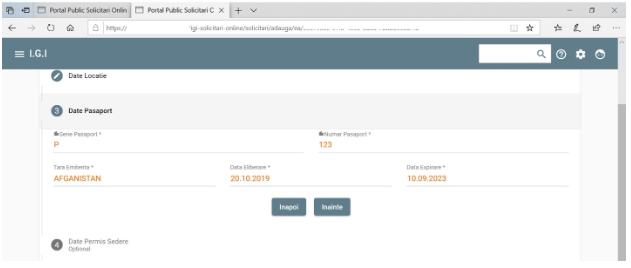
Passport date
Data of previous residence permit, if any
Upload files
Personal dates
 2.
Location data (address in Romania)
2.
Location data (address in Romania)
3. Passport data
4. Residence permit data in another country (optional)
5. Date angajator (optional)
The employer can be of three kinds:
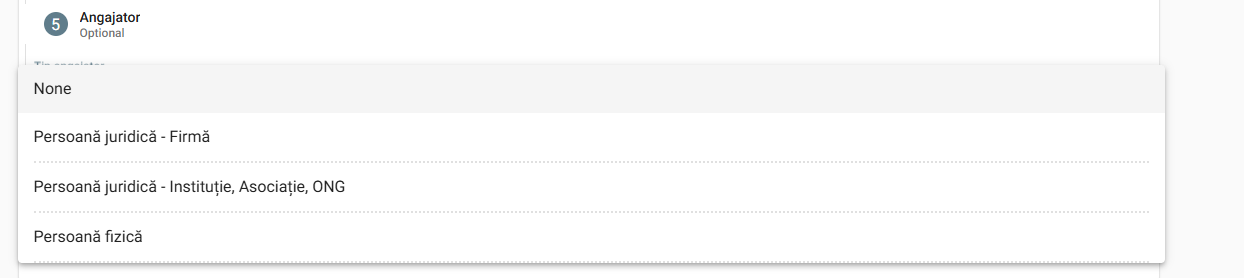
Individual – in this case, the introduction of the individual's CNP will be requested, the system querying the population record database and automatically filling in the identification data of the found person
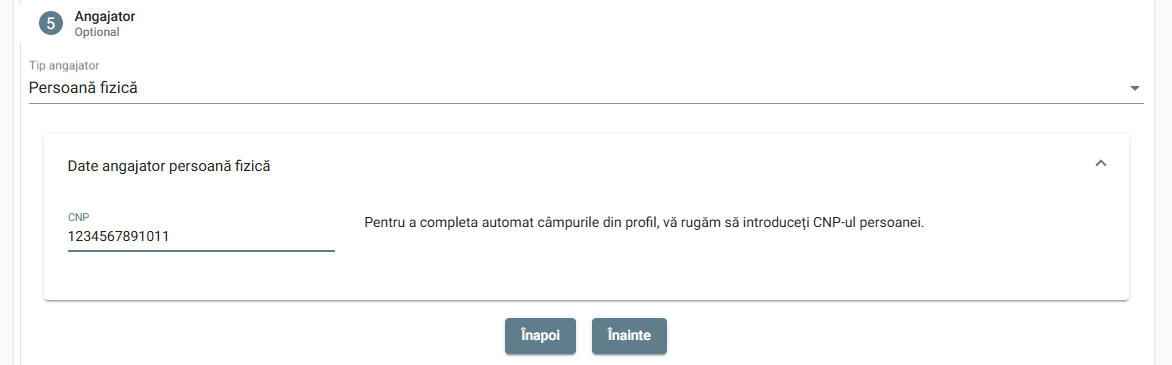 After filling in the CNP, click
the Next button and then complete the profile creation.
After filling in the CNP, click
the Next button and then complete the profile creation.
When the Save button is pressed, the system will query the population record database and return the identification data of the individual.
The system will generate two emails to the user's email address:
an email informing the user that the individual's CNP has been sent for querying in the DEPABD
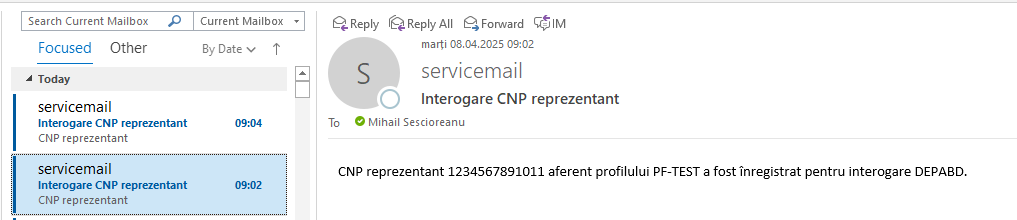 After the query, a new email will
be generated confirming the identification of the CNP in the DEPABD
database:
After the query, a new email will
be generated confirming the identification of the CNP in the DEPABD
database:

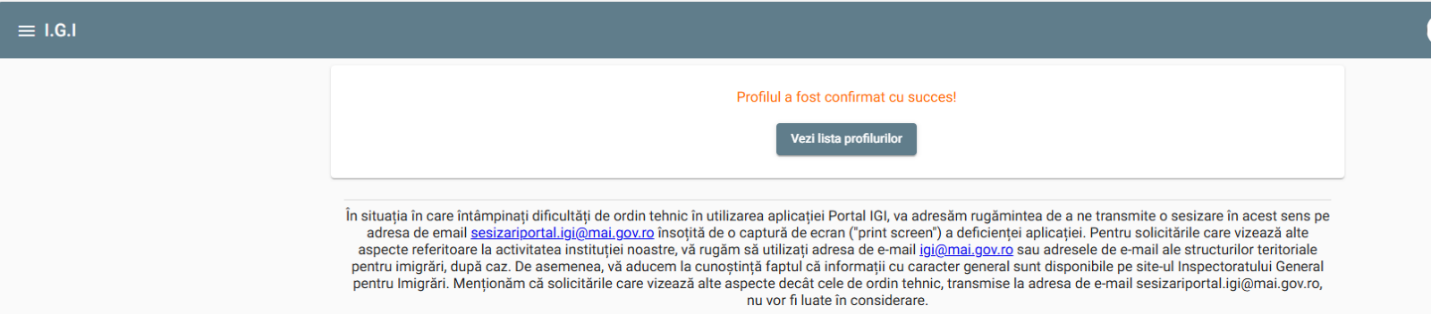
An email confirming the generation of the new profile and validating it. A link will be sent, by accessing it confirming the creation of the new profile
 Upon accessing this link, the
profile will be confirmed:
Upon accessing this link, the
profile will be confirmed:
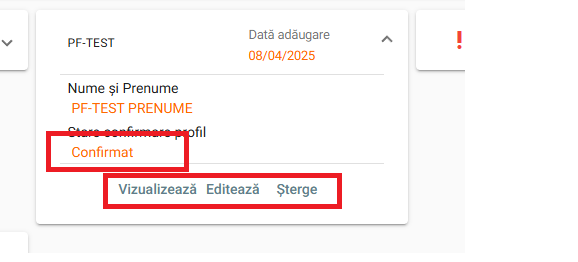
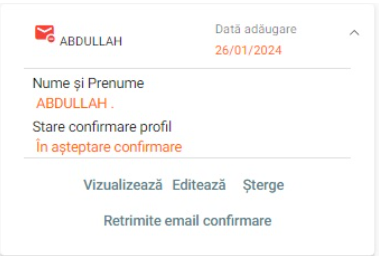
Once the profile creation is confirmed, it will be visible in the list of profiles and can be viewed, edited or deleted. The profile can be deleted only if there are no active requests on it.
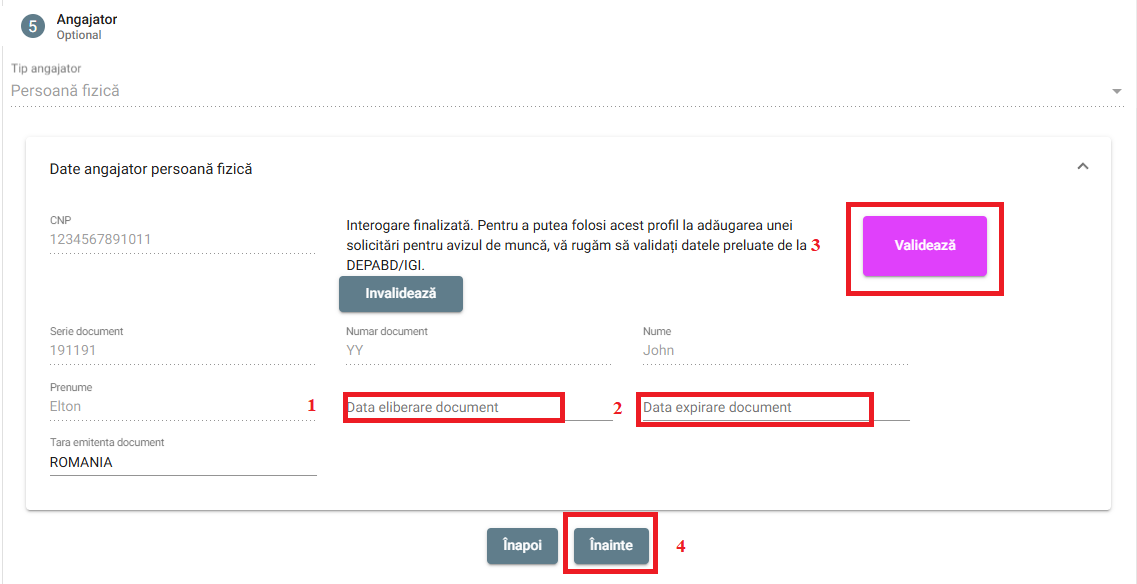
In order to use this profile, in addition to confirming it, the identification data of the individual will have to be validated (and possibly completed).
For this, the profile will be edited, and in the Employer section, the data exposed by DEPABD will be verified and validated (the date of issuance and expiration of the identity document will have to be filled in):
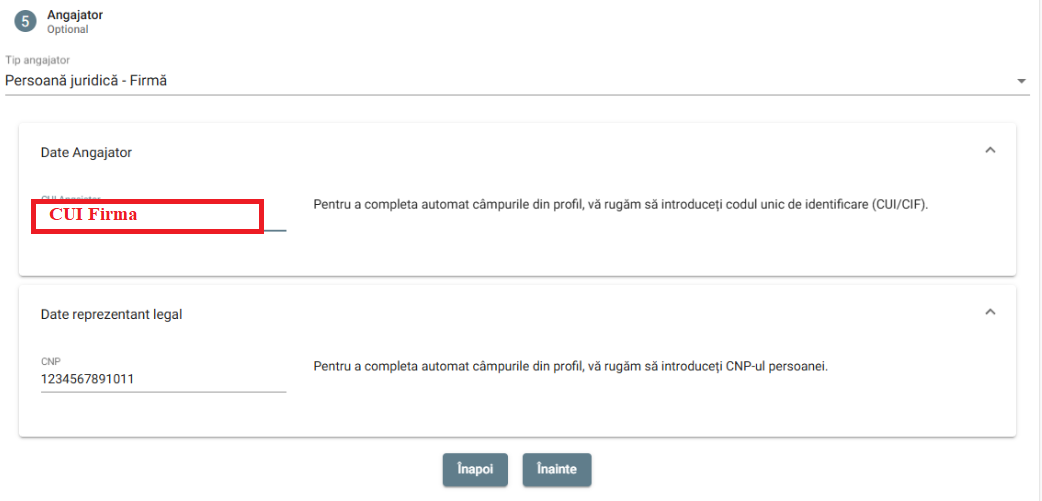
Company type legal entity – in this case two sets of data will be requested:
The company's CUI, and the system will query the ONRC database returning the company's identification data
The CNP of the legal representative, and the system will query the database of the population records, returning the identification data of the legal representative
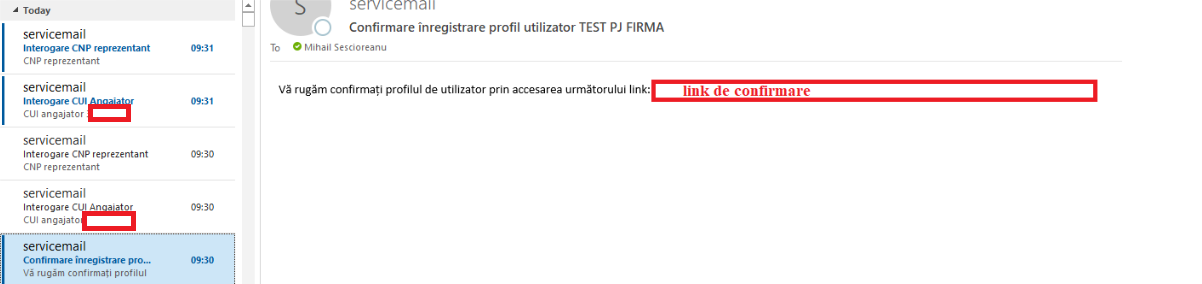
 When saving the profile, three
emails will be generated:
When saving the profile, three
emails will be generated:
An email informing the user that the request to query the ONRC database for the entered CUI has been sent

An email informing the user that the request to query the DEPABD database for the CNP of the legal representative has been sent

An email confirming the generation of the new profile and validating it. A link will be sent, by accessing it confirming the creation of the new profile
After clicking on this link, the profile will be confirmed, and it can be viewed, deleted or edited.
After querying the two databases, two emails will be generated through which the user will be informed of the result of the query of the two databases:


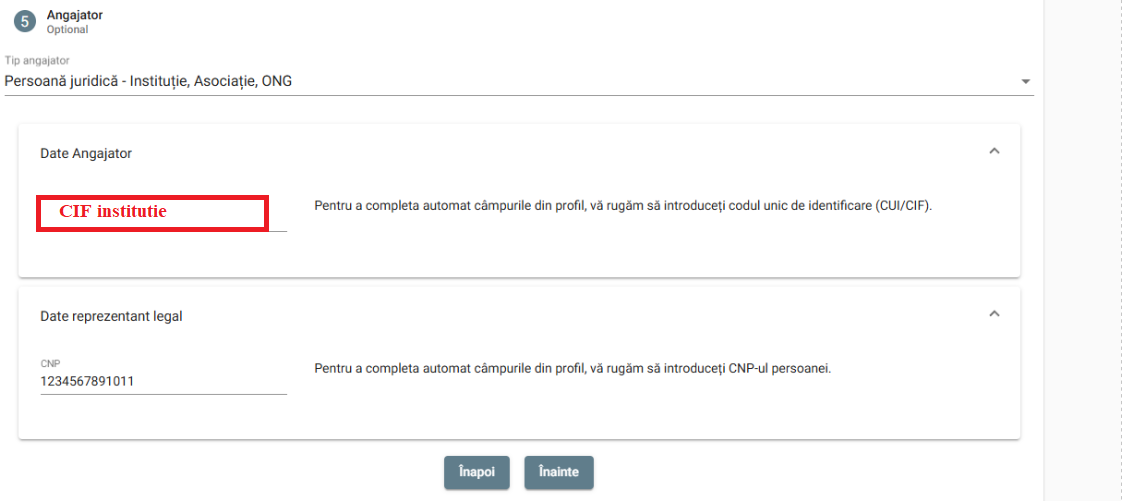
Institution-type legal entity – in this case, two sets of data will be requested:
The identification code of the institution, and the system will query the IGI database by returning the identification data of the institution (if it is registered in the database), or the identification data of the institution will be filled in if it is not identified in the IGI database
The CNP of the legal representative, and the system will query the database of the population records, returning the identification data of the legal representative
Similarly to adding a Legal Entity – Company profile, two queries will be made in this case as well:
One in the DEPABD database for the CNP of the legal representative
One in the IGI database for the institution's CIF
The way of working is similar to that of PJ-Firma, the only difference is that, if the institution is not identified in the IGI database after the CIF, there will be the possibility of entering the identification data by the user.
The user logs in to the application with a valid account (see chap. 2.2 or 2.3, as appropriate)
From the left menu choose the option Profiles 🡪 Profile list
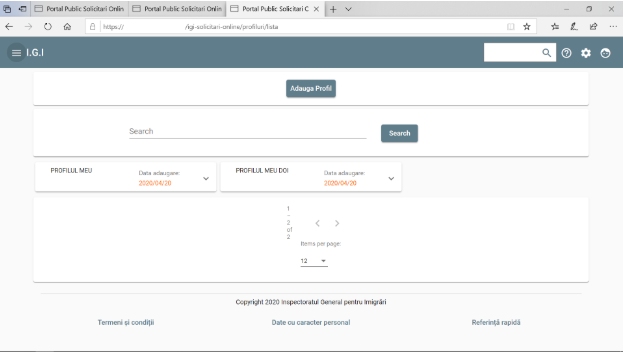
Select the profile
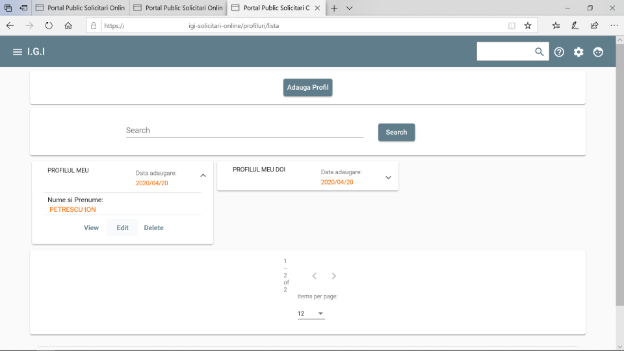
If you want to delete the selected profile, press Delete.
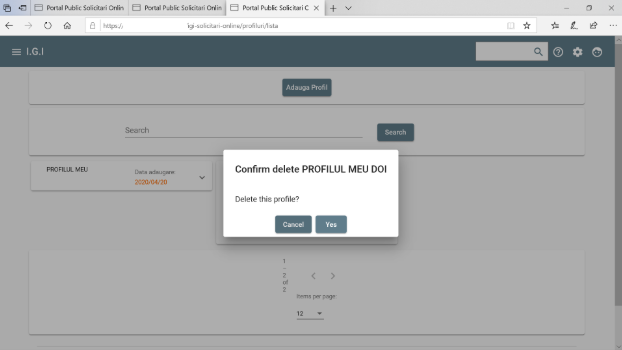
Confirm the deletion of the profile and press the Yes button
If you want to edit the profile data, click Edit. Attention: a profile that has active requests cannot be edited!
Change the desired data and click the Save button
If the email address was modified, the profile will have to be reconfirmed by accessing the confirmation link received on the new email address.
If needed, the confirmation email can be resent by accessing the button "Resend confirmation email"
The user logs in to the application with a valid account (see chap. 2.2 or 2.3, as appropriate)
From the menu on the left, choose the Online Requests option 🡪 Add Request

Select the profile for which you want to add the request (Attention: the profile has to be confirmed!)
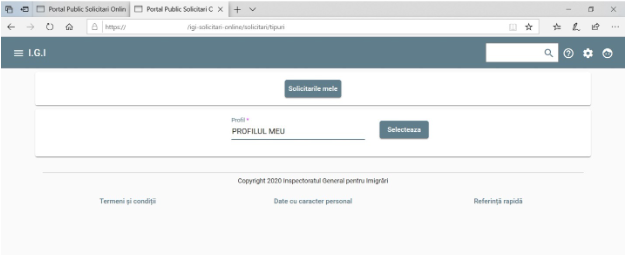
Press the Select button
Choose the type of request you want
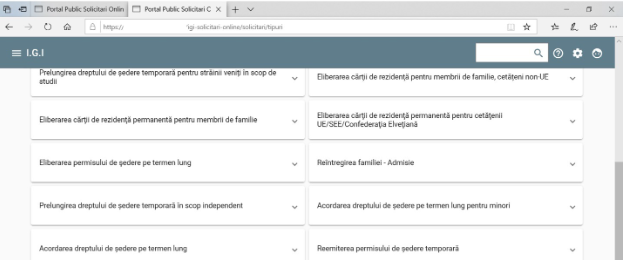
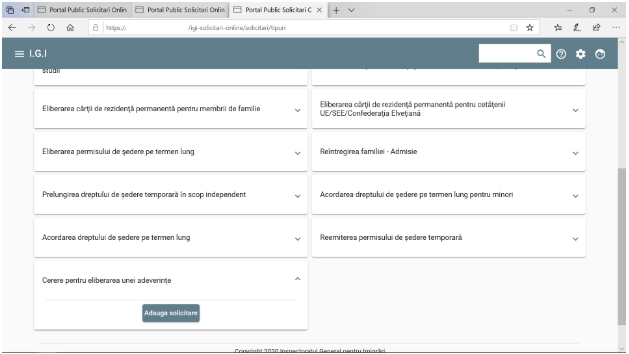
Click the Add Request button
The sections are completed one by one. Attention, the data already completed in red are taken from the profile and can only be modified by editing the profile before adding the request (see chapter 2.6)
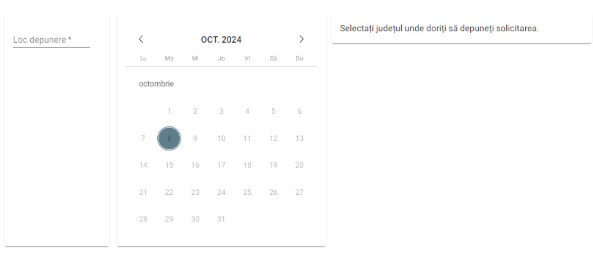
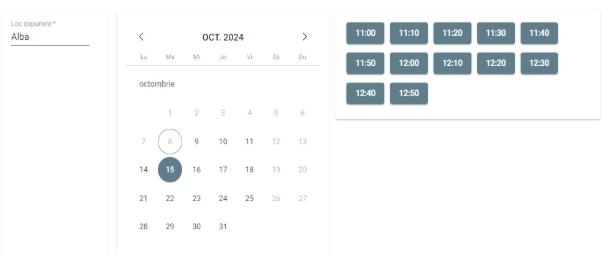
“Submission place (for employment approval - work permit), date/time of the appointment”
“Personal data”
"Location data" - address in Romania
“Passport Data”
“Residence permit data”: optional, if there is a previously issued residence permit
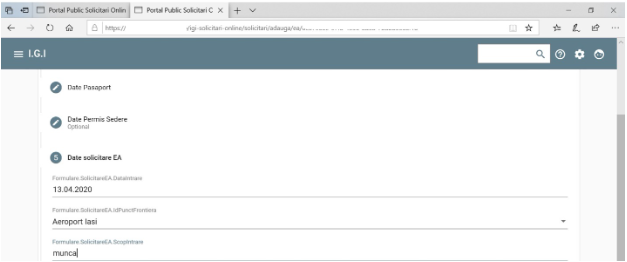
“Request data”: these are data specific to each type of request, according to the legal provisions
“Purpose details”
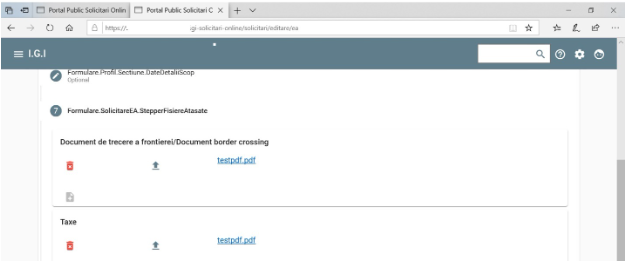
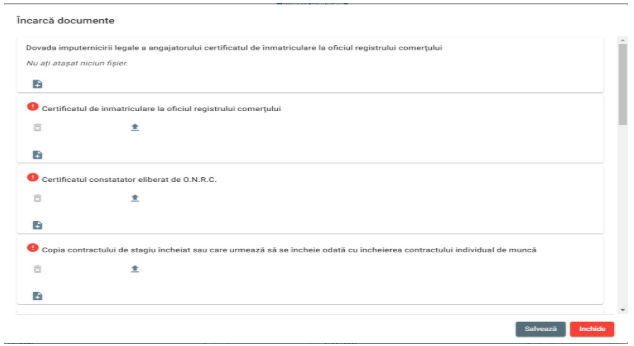
"Attached files": the list of specific documents is different depending on the type of request (application)
Attention: the files are mandatory if the request is registered 14 days or less than the appointment date
“Terms and conditions”
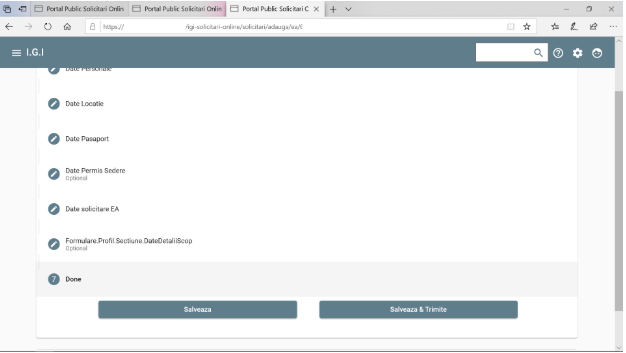
After entering all the information, the "Save" button is accessed.
At this point, the request is registered and the appointment is saved for the chosen date/hour.
If the request was registered 14 days or less than the appointment date, the next step is going to the GII office.
If the request was registered more than 14 days before the appointment date, the user will receive a confirmation email 14 days before the appointment date.
Attention: it is mandatory to access the confirmation link and attach all the required documents until 10 days before the appointment date, otherwise the appointment will be cancelled!
The user logs in to the application with a valid account (see chap. 2.2 or 2.3, as appropriate)
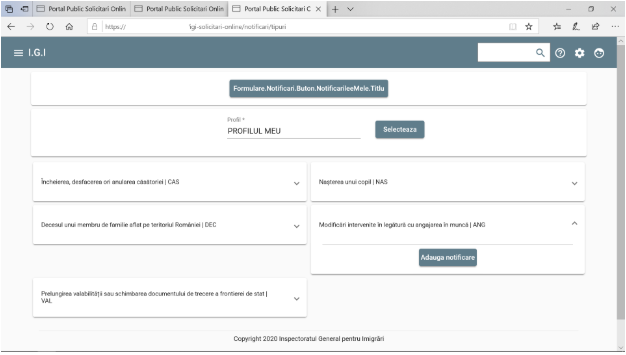
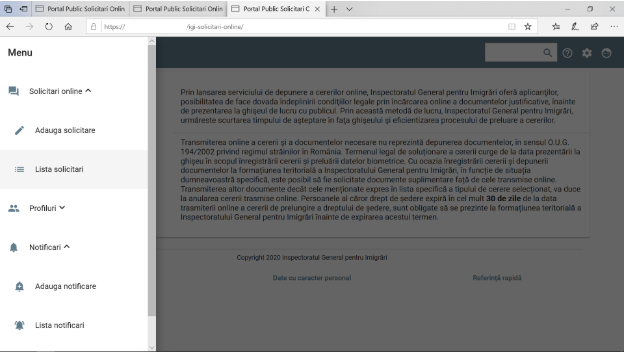
From the left menu choose the Notifications option à Add Notification
Select the profile for which you want to add the notification and press the Select button
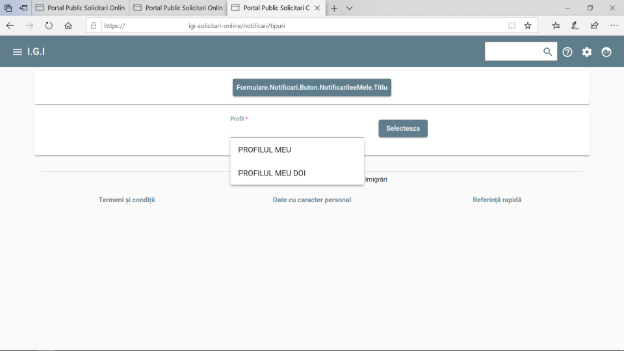
Choose the type of notification you want and click the Add notification button
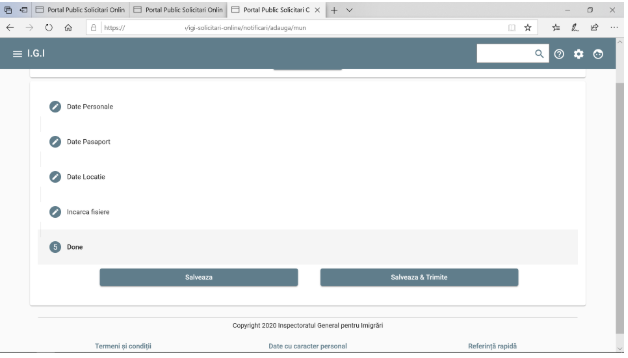
The information in the sections Personal data, Passport data, Location data are completed in red. These are automatically taken from the profile, and cannot be edited. They can only be modified by editing the profile (see chapter 2.6)
Upload the files with the necessary documents. The list of required documents differed depending on the type of notification.

After entering all the information, you have two options:
Save button: saves the data, but without being sent for analysis to the IGI. In this situation, it is allowed to further edit / complete the information already added
Save and Send button: saves the data and sends them to IGI for analysis.
After choosing one of the two options, the notification was created and saved.
The user logs in to the application with a valid account (see chap. 2.2 or 2.3, as appropriate)
From the menu on the left, choose the option Online requests 🡪 Request list
Select the desired request from the list
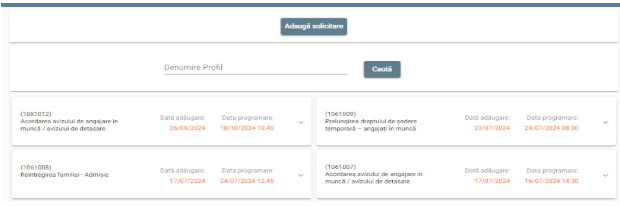
The available options are:
1. Cancel: the request, along with the appointment, will be cancelled
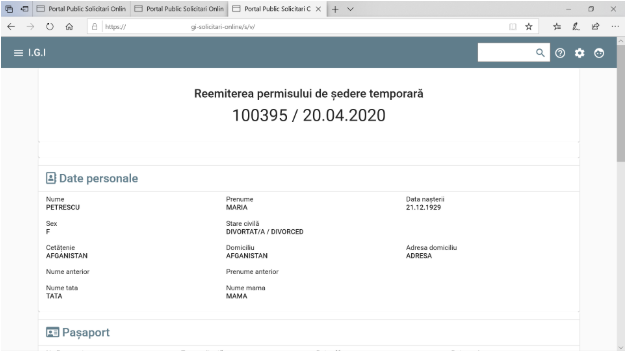
2. View: allows viewing all the information entered
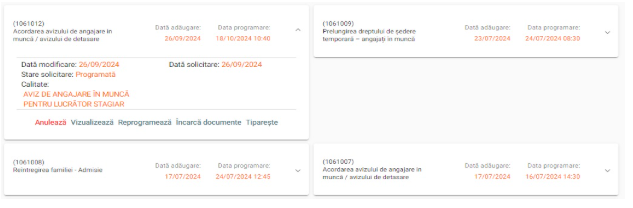
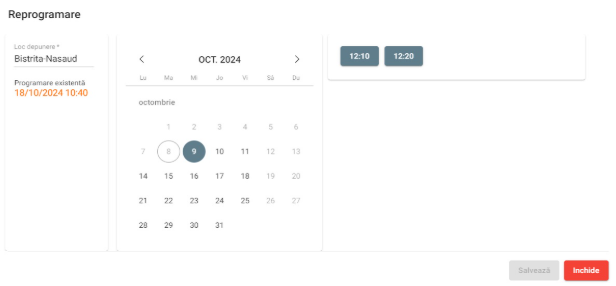
3. New appointment: allows making a new appointment on a different date/hour
Attention: if the user account registered a request that has been cancelled by not being confirmed/not having all the required files attached,
that user account cannot make a new appointment until the appointment date of the cancelled request.
Also, if the request does not have all the required files attached, the new appointment date cannot be less than 14 days in the future.
4. Attach documents: allows uploading the attached files
Attention: all mandatory documents must be attached 10 days or more until the appointment date, otherwise the appointment will automatically be cancelled!
5. Print: allows the form to be printed, to be presented at the counter, at the time of presentation, according to the received schedule.
The user logs in to the application with a valid account (see chap. 2.2 or 2.3, as appropriate)
From the left menu choose the option Notifications 🡪 Notification list

Select the desired notification from the list 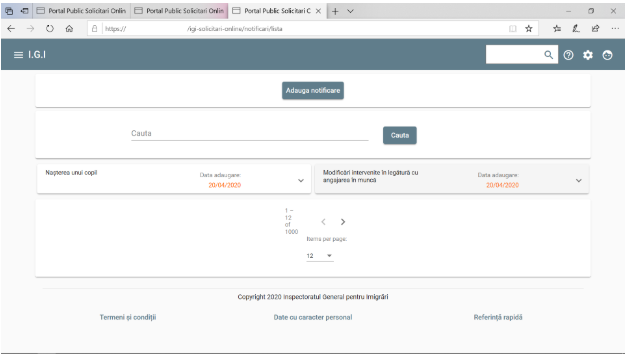
The available options are
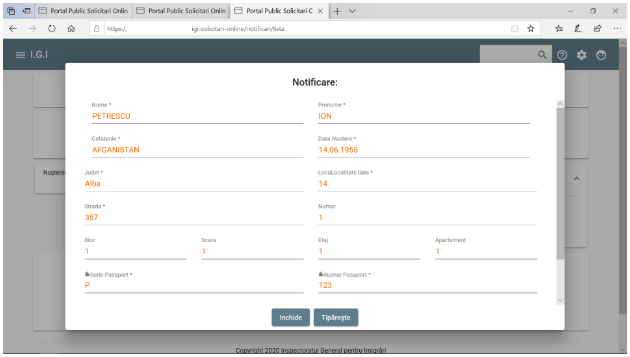
View: allows viewing all the information entered
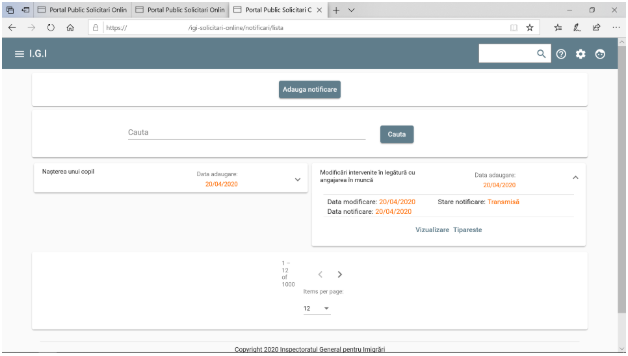
Print: allows the form to be printed, to be presented at the counter, at the time of presentation, according to the received schedule.
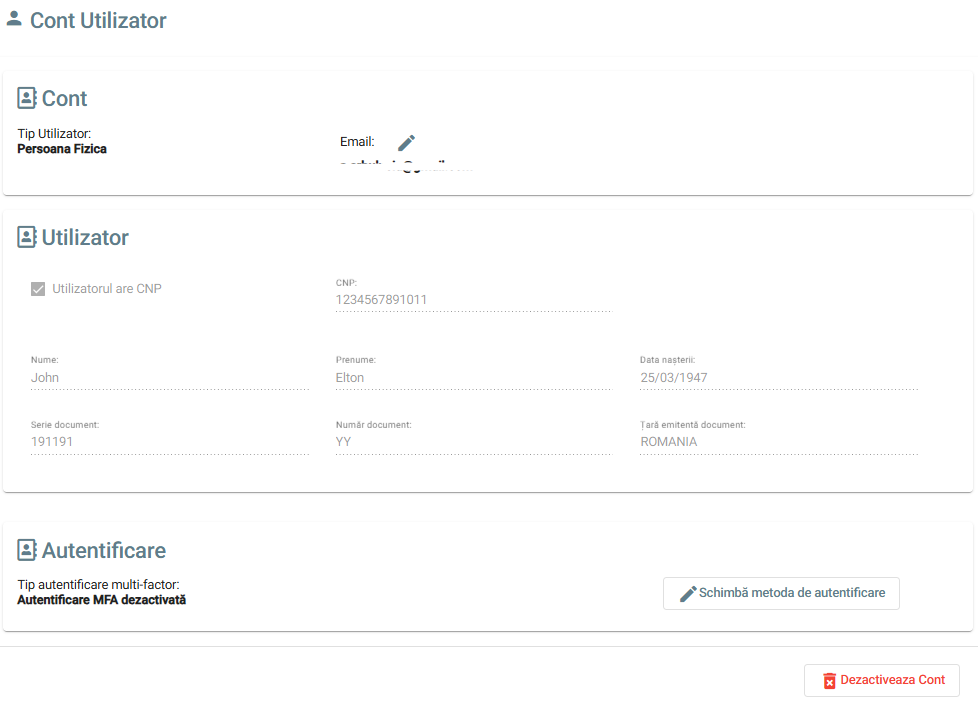
While being authenticated, select the option Account from the main menu.

The available actions are:
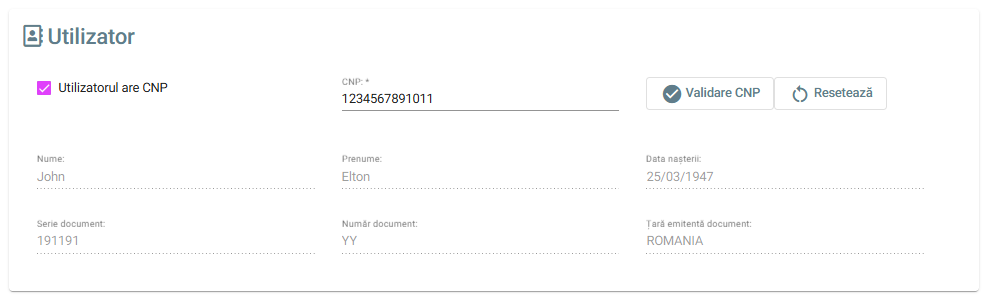
1.Fill/change CNP information
After registering a new account or when saving the CNP into the account page, the system will start querying DEPABD/GII systems.
After the inquiry is completed, the user will receive an information email on the email address associated with the account:

Attention: as long as the retrieved data is not validated, the “User has CNP” checkbox and the associated CNP can be modified. After the data is validated by the user, this information can no longer be modified.
After the inquiry has been completed, the received information can be seen on the current screen and they can be validated or the user can ask for a new inquiry.

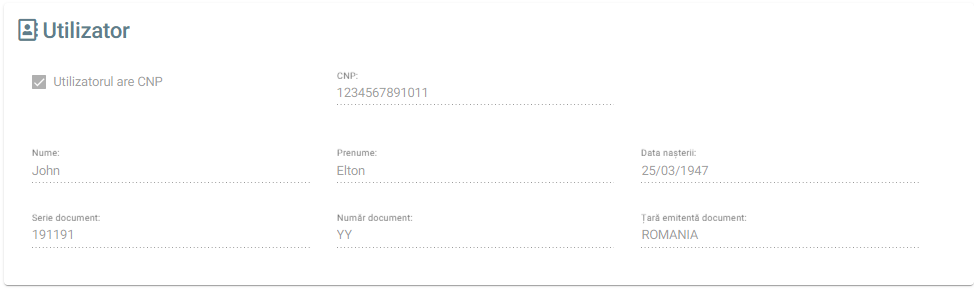
After the data is validated, the information are read-only, they can no longer be modified:
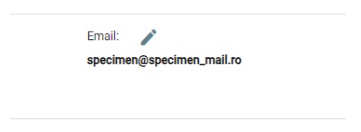
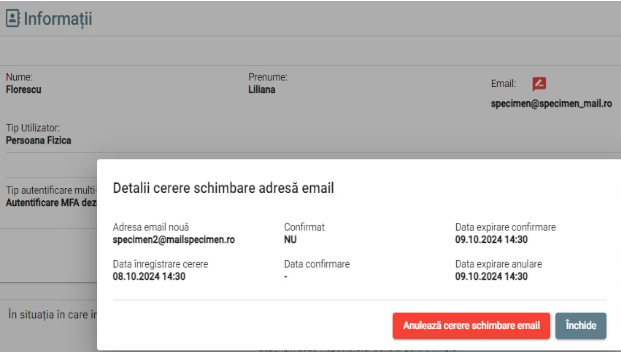
2. Email change request: allows modifying the email address of the user account
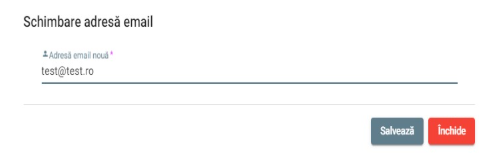
Access the "pencil" button near the email address, fill the new email address and click "Save"
At this moment, a new email change request has been added. You can view this request by accessing the red button near the email address.
An email message has been sent on the current email address of the account - this email message contains a link which can be accessed to cancel the current email change request.
Also, a confirmation link has been sent on the new email address.
Both links are valid for 24h.
After 24h have passed, if the new email address is confirmed and the current user did not cancel the email change request, the email address associated with the account will be changed automatically.
Attention: after successfully changing the email address, the user cannot add a new email change request for 30 days!
3. Change the multi-factor authentication type:
Choose an authentication method by accessing the "Change default authentication method" button
If the chosen method is OTP, the user can regenerate the QR code for configuring the third-party application.
Attention: after generating a new QR code, the old one will not be valid anymore!
3. Disable account:
By accessing the button "Disable Account", the current account is deleted and cannot be accessed anymore.
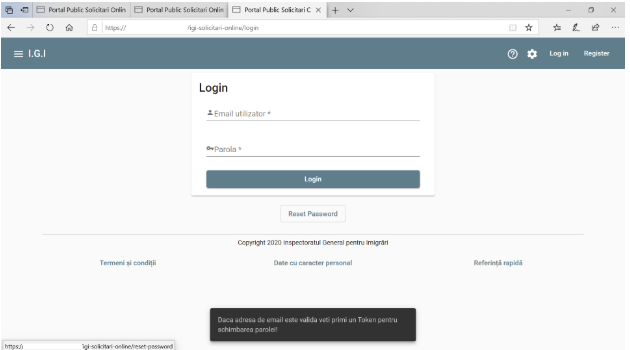
From the main screen of the application, select the Login option

Press the Reset password button.
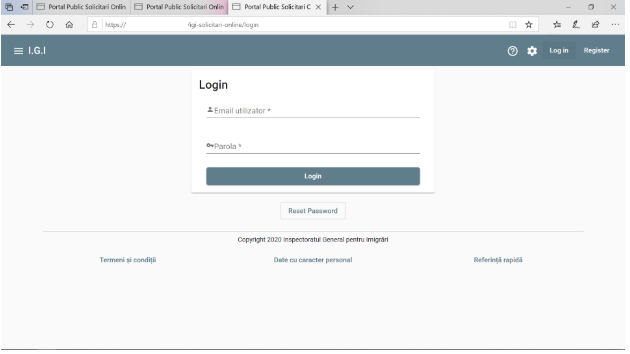
Fill in the email address of the account, check the option I’m not a robot and press the Reset button
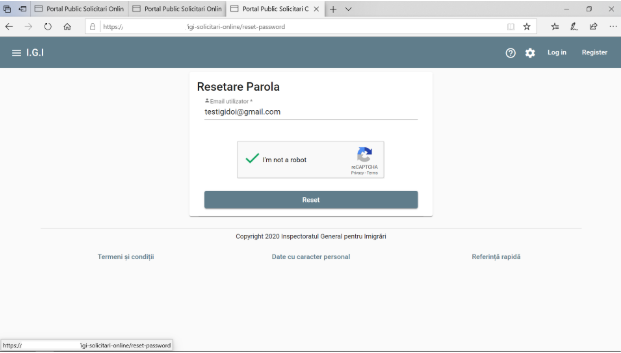
A password reset link is automatically sent to the email address
Click the link and the user is redirected to the password change screen
Fill in and confirm the new password and click the Save button
The user log out of the Portal by selecting the Logout option